How I Customized My Pop!_OS
Why i choose Pop!_os ?¤
Pop!_OS is a Linux distribution on top of Ubuntu. So, you get all the benefits of using Ubuntu and it`s well maintained.
No Snap garbage (.deb or flatpak only).
Built-in tileing window manager features.
Better implementation of Gnome 3.
Provides an AMD iso and a separate nVidia ISO with no video driver setup needed.
More hardware support, especially newer devices as System76 sells hardware with Pop installed.
Probably more.... so there is no reason to use Ubuntu over Pop!_OS
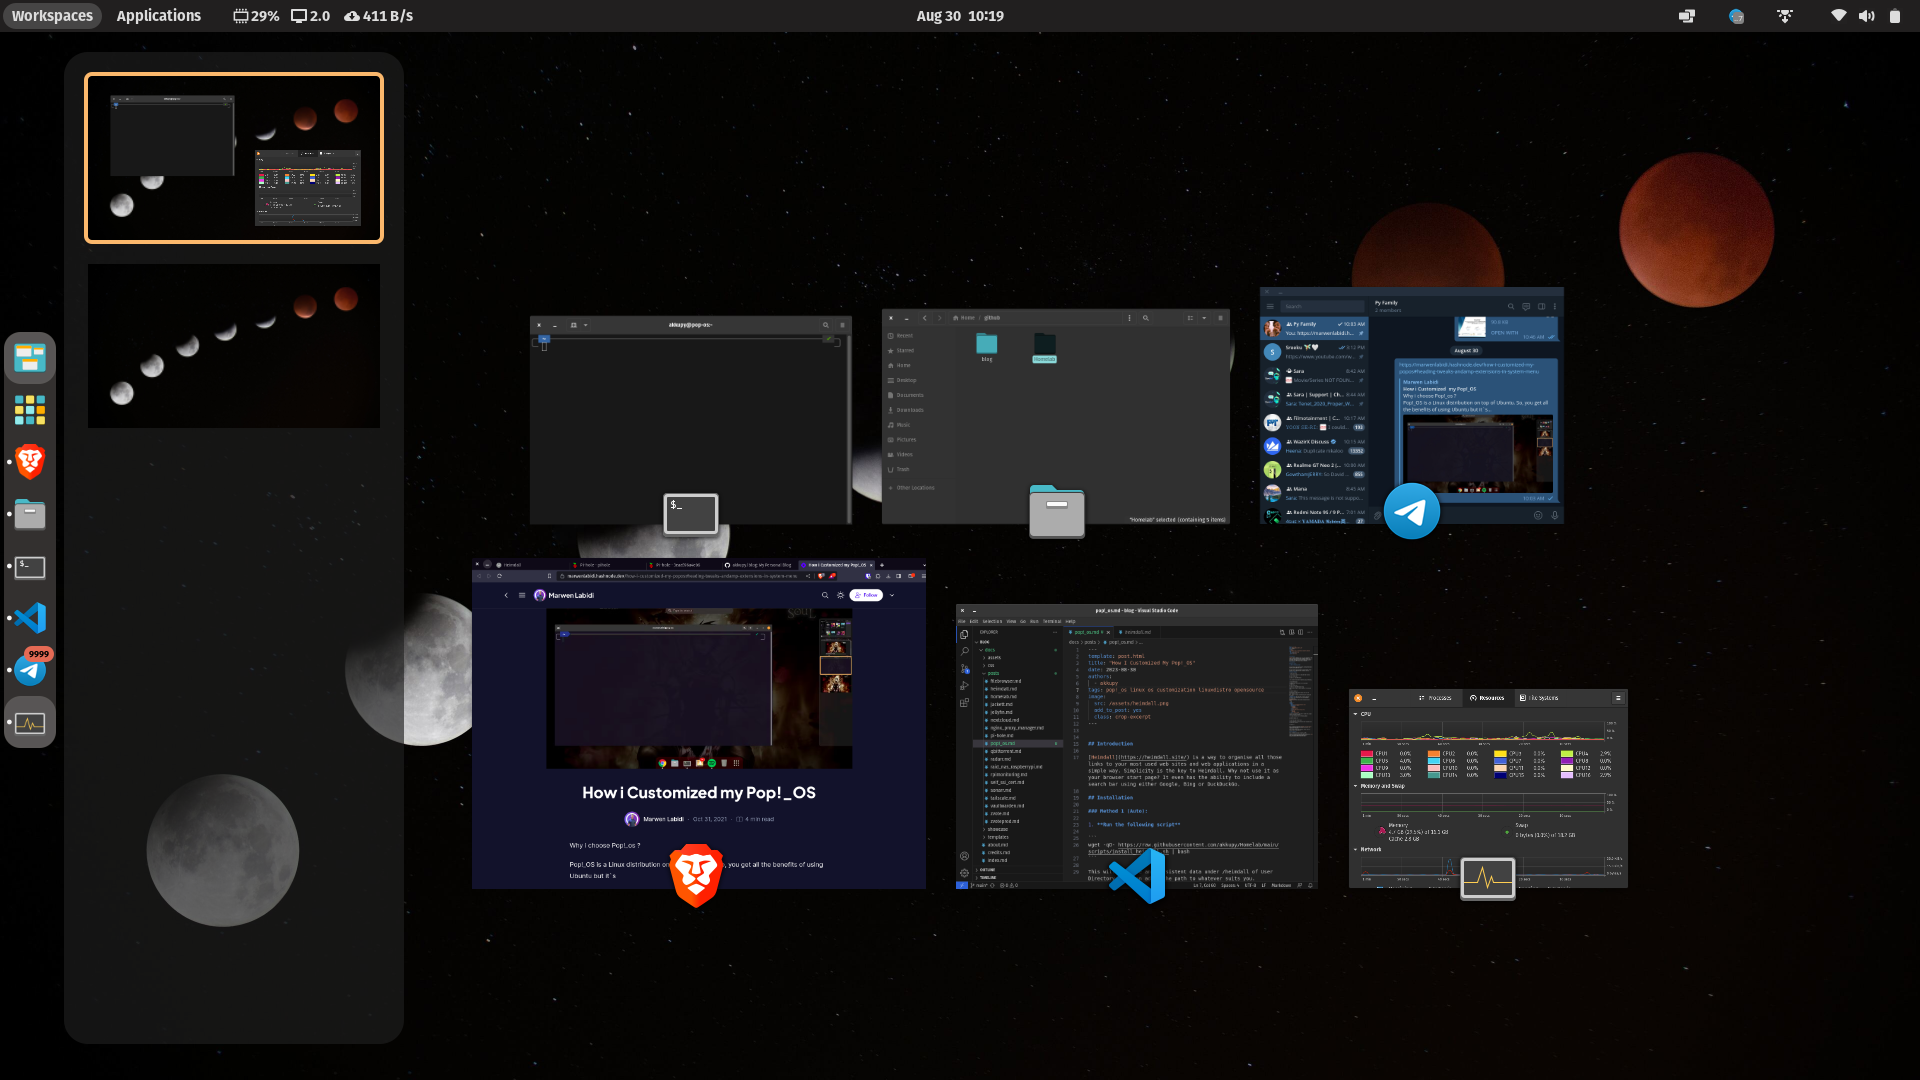
After i installed Pop!_OS I spend some time to customize it , so let me show you what I was able to do.
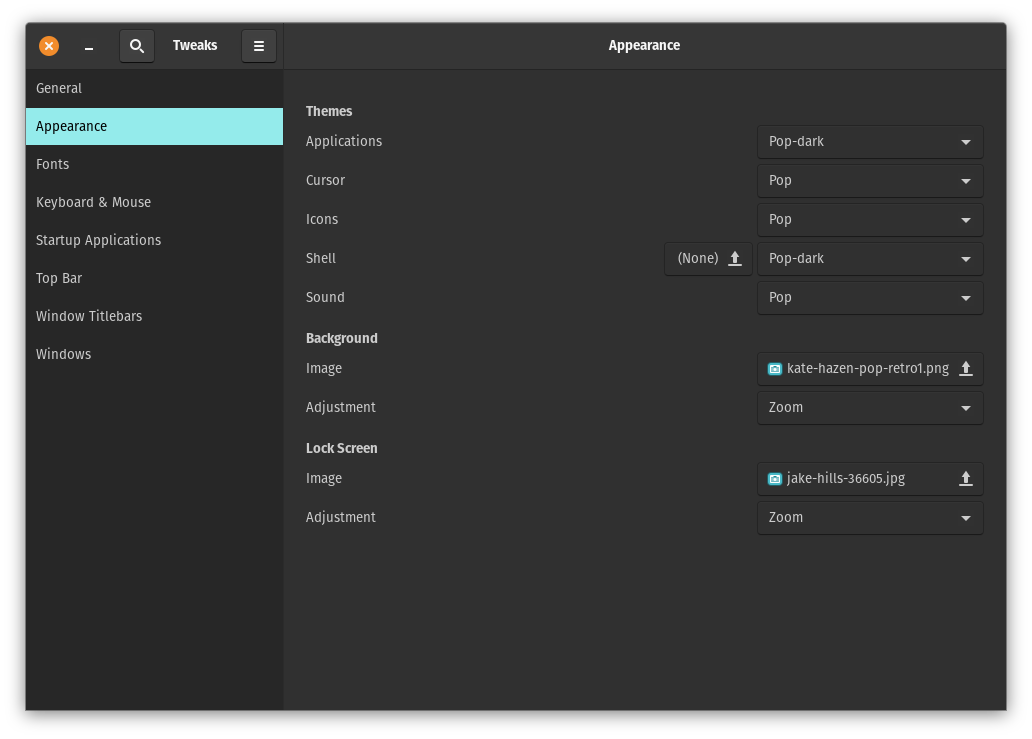
Install Gnome Tweaks Tool¤
Gnome tweaks tool gives you additional configuration, and first of all, add minimize and maximize buttons.
sudo apt install gnome-tweak-tool
then open tweak tool and make the changes.
Install GNOME Shell integration extension for google chrome or Mozilla fire fox¤
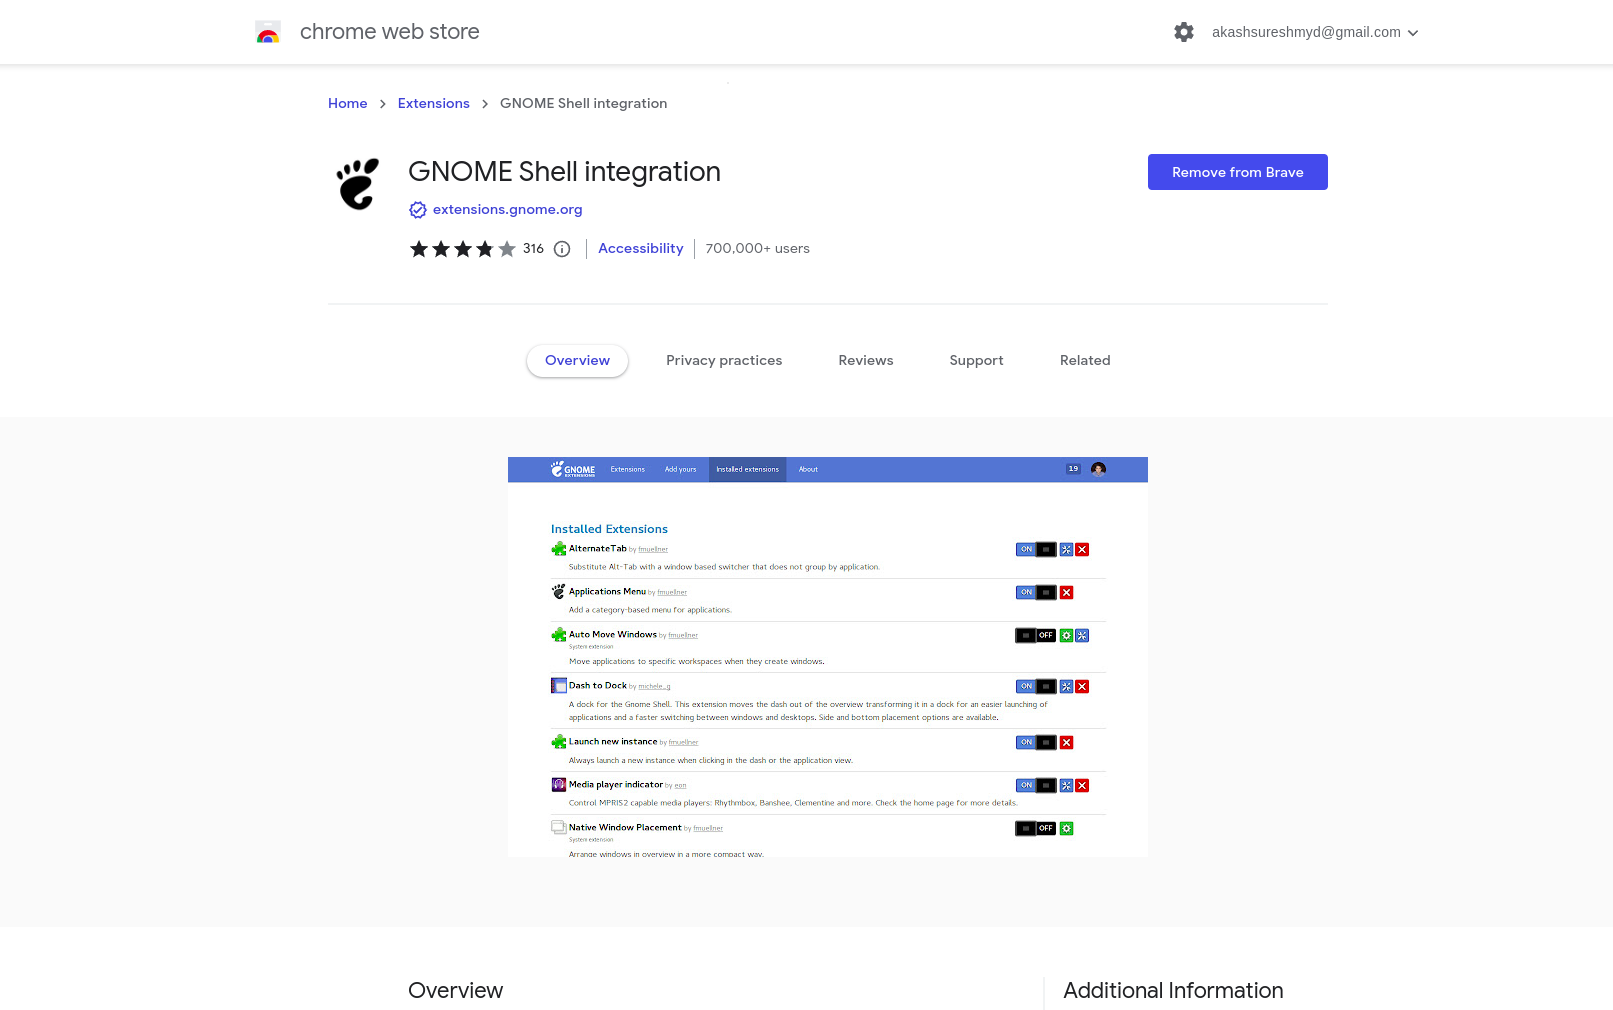
Now open it and install all the app you want.
This is my list of apps.
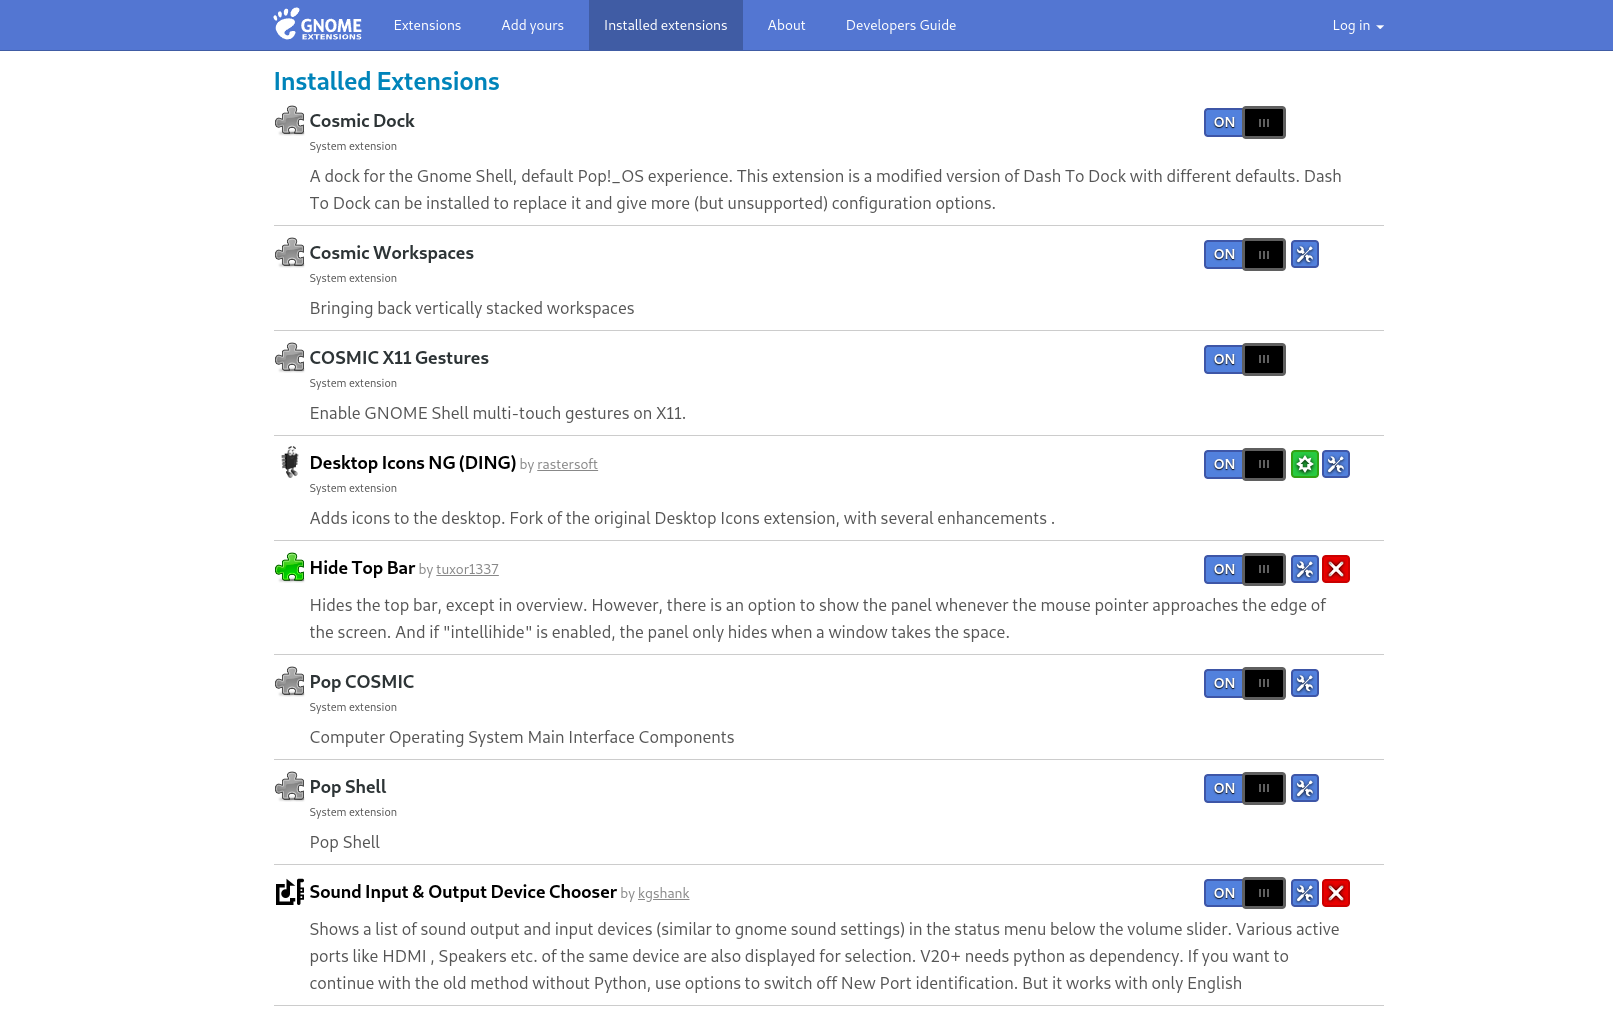
-
A dock for the Gnome Shell. This extension moves the dash out of the overview transforming it in a dock for an easier launching of applications and a faster switching between windows and desktops. Side and bottom placement options are available.
-
Hides the top bar, except in overview. However, there is an option to show the panel whenever the mouse pointer approaches the edge of the screen. And if "intellihide" is enabled, the panel only hides when a window takes the space.
-
Totally transparent top panel in the Overview. Also adds drop shadows to text and icons for those using GS 3.38.
-
Tweaks & Extensions in System Menu
Put Gnome Tweaks and Extensions (on Shell 40 and later) in the System menu.
-
Sound Input & Output Device Chooser
Shows a list of sound output and input devices (similar to gnome sound settings) in the status menu below the volume slider. Various active ports like HDMI , Speakers etc. of the same device are also displayed for selection. V20+ needs python as dependency. If you want to continue with the old method without Python, use options to switch off New Port identification. But it works with only English.
-
This extension lets you toggle night-light from the top-bar by clicking it.
-
A glimpse into your computer's temperature, voltage, fan speed, memory usage, processor load, system resources, network speed and storage stats. This is a one stop shop to monitor all of your vital sensors. Uses asynchronous polling to provide a smooth user experience.
Customize the Terminal¤
The default Terminal language is bash but i'll change it to zsh .
Bash and zsh are almost identical which is a relief. Navigation is the same between the two.
The commands you learned for bash will also work in zsh although they may function differently on output.
Zsh seems to be much more customizable than bash. I’ll now run through a few features and how they differ in each.
Auto-completion Auto-correction Plug-in support.
Setup¤
Install ZSH¤
sudo apt install zsh
Set default shell to ZSH¤
After the installation is complete, it automatically selects ZSH as the default shell.
You can use the following command to check the current shel echo $SHELL .
In case if your default shell is not ZSH, then run the following command to make it default:
chsh -s $(which zsh)
Install and configure the oh-my-zsh¤
sudo apt install curl

sh -c "$(curl -fsSL https://raw.githubusercontent.com/ohmyzsh/ohmyzsh/master/tools/install.sh)"
Oh-my-zsh is now installed on the system, and the Z shell has been configured for utilizing the oh-my-zsh framework with the default configuration.
Change default theme¤
The Oh-my-zsh framework provides many themes for your ZSH shell.
You can go to the themes directory and see the list of available themes.
cd ~/.oh-my-zsh/themes/

ls -a
To change the default theme, we need to edit the .zshrc configuration file. Let's open it in the nano editor:
nano ~/.zshrc
ZSH_THEME="candy"
Save and exit. And reopen your terminal.
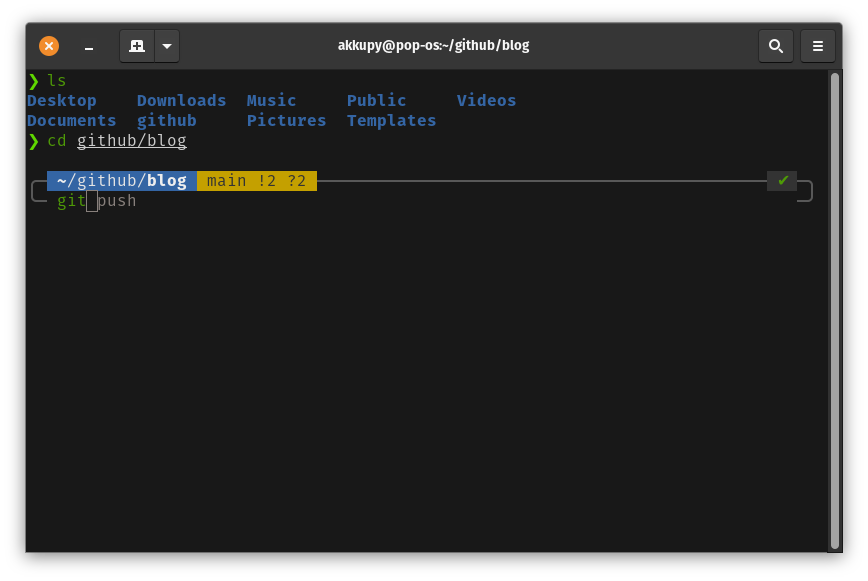
My favorite ZSH theme is PowerLevel10k¤
Install Powerlevel10k using the following command.
git clone https://github.com/romkatv/powerlevel10k.git $ZSH_CUSTOM/themes/powerlevel10k
Then you need to enable it, change the value of ZSH_THEME to following in ~/.zshrc file :
ZSH_THEME="powerlevel10k/powerlevel10k"
Configure Powerlevel10k Theme or just restore the terminal.
p10k configure
Plugins (Optional, Good to have!)¤
git clone https://github.com/zsh-users/zsh-syntax-highlighting ${ZSH_CUSTOM:-~/.oh-my-zsh/custom}/plugins/zsh-syntax-highlighting

git clone https://github.com/zsh-users/zsh-autosuggestions ${ZSH_CUSTOM:-~/.oh-my-zsh/custom}/plugins/zsh-autosuggestions
Activate the plugins In ~/.zshrc file replace the line starting with plugins=() to below line.
plugins=( git zsh-syntax-highlighting zsh-autosuggestions )